Showing posts with label homemade strawberry jam. Show all posts

Saturday, 20 September 2014

Strawberry Jam Simplified


Hi! I'm now working from Wordpress. I've spent a great deal of time editing and reorganising this post on Wordpress and it is so much friendlier to read & follow my recipe from there. Click on this link to take you directly to the recipe:
Link to my newest and old recipes, click:

The smell of delightfully sweet strawberry jam cooking on the stovetop and wafting through the house is reason enough to make this.
This is jam made to be eaten at home. It is an uncomplicated recipe, made in small amounts so that it won't be kept too long. It never lasts long in our house and when we do run out, it is so quick to produce a new batch, it is never a chore to make more.

As I have been posting recipes that calls for this jam, I figured it should have its own post so that it would be easy for you to retrieve the recipe. I first featured it as a secondary recipe in my post, Victoria Sponge Cake With Homemade Strawberry Jam.


Once you taste your homemade jam, chances are you won't want to go back to store bought jam.

STRAWBERRY JAM SIMPLIFIED                                         


Prep:
5 minutes

Cook:

25 minutes

Inactive:

-

Level:

Easy

Makes:

1 cup

Oven Temperature:

-

Can recipe be doubled?

Yes

Make ahead?

Keeps up to 3 weeks refrigerated

Ingredients

1.1 lbs (500g) strawberries

1/2 to 1 cup of sugar or jam sugar

Do not try and cut down the sugar to anything less than 1/2 cup as it does play a part in getting the jam to the right consistency.

Jam sugar has 'pectin' in it that helps set the jam and produces a slightly thicker consistency similar to store bought jam. 

Directions

Hull the strawberries. 


As a reference, the strawberries should take just 20 to 25 minutes to cook.

Yup, that's all the sugar that goes in, 120g (1/2 cup) sugar to 500g (1.1 lbs) strawberries. That is plenty enough.
Place a wide bottom pot/saucepan on the burner. Add the strawberries and then the sugar. Turn the heat on to medium high. If you have one, use a nonstick pot/saucepan to help prevent the sugar from sticking and burning. 
Stir once or twice to help distribute the sugar and prevent burning. The sugar will melt very fast. This is it after 2 minutes.
After 5 minutes, a considerable amount of syrup will have developed and there will be foam on the surface.  Don't bother skimming it. You can stir it back in when the jam is cooked and you won't see it.
In the next 5 minutes, it will be bubbling away furiously, the strawberries will look swollen and the mixture will look a lovely ruby red.
Take out your potato masher or use the back of a spoon to break up the strawberries. Leave some chunks. The strawberries should be soft enough at this stage for it to be easily mashed up.
Let it bubble away for the last 5 to 10 minutes. I want a solitaire ruby ring in that colour!
The jam will soon start to thicken very quickly. Stir to prevent burning. The jam's consistency will look very much like thick honey. I like jam with a looser consistency so when it has reached this stage (refer to photograph below), I turn off the burner and take it off the heat. Should I decide to stick my thermometer into the jam, it will never measure more than 185 F (85 C). This is the way I like the jam.
Cool completely and store in sterilised glass jars. 
It keeps at least 3 weeks but only manages to last 2 weeks and only a day when I serve it with my Sweet Milk Scones.
I use it in my Victoria Sponge Cake,
The jam will soon also be featured in my next post, Pavlova.
Tips
  • These make welcome gifts. Don't be surprised if you are asked to make more.
  • Do use the jam to drizzle over vanilla ice cream. It is like making your own strawberry swirl ice cream. For an adult version, also drizzle some Crème de Fraise, a strawberry flavoured creme liqueur.
  • This strawberry jam goes especially well with crepes (thin pancakes). You could add whip cream too but I think it doesn't need anything else besides the jam.
  • Jam makers will tell you that for jam to reach the 'set' stage (stage at which you can take the jam off the heat), the thermometer needs to register 220F (105C). There are other 'set tests' you can carry out. Google it. Lots of detailed explanations which I will not get into. With the very little sugar to fruit ratio that I use, it might not reach the recommended temperatures. You can take out your thermometers and use it if you like but I know how I like my jam. 
How much do I like my homemade strawberry jam? I have almost given up on strawberry filled jelly doughnuts because there is never enough jelly in it for me. 

Now, I buy plain doughnuts and scoop a quarter cup of my strawberry jam next to a doughnut. So good.

WHAT'S COMING UP NEXT?                                                 


Pavlovas have a reputation for being difficult to make. It is actually the meringue that is challenging to bake correctly. The reality is, this plain, white meringue is one of those recipes where you cannot be guaranteed of success.  This is even more true if you are baking them in an area with high humidity. 

It got on my nerves that I could not get a meringue to not collapse, weep sugary syrup from the bottom and not taste like soap sponge. You would not believe the number of meringues I had to bake to come up with a recipe that bake the lovely looking meringue below.

Let me share that recipe with you in my next post!


Friday, 8 August 2014

Victoria Sponge Cake With Homemade Strawberry Jam


Hi! I'm now working from Wordpress. I've spent a great deal of time editing and reorganising this post on Wordpress and it is so much friendlier to read & follow my recipe from there. Click on this link to take you directly to the recipe:
Link to my newest and old recipes, click:

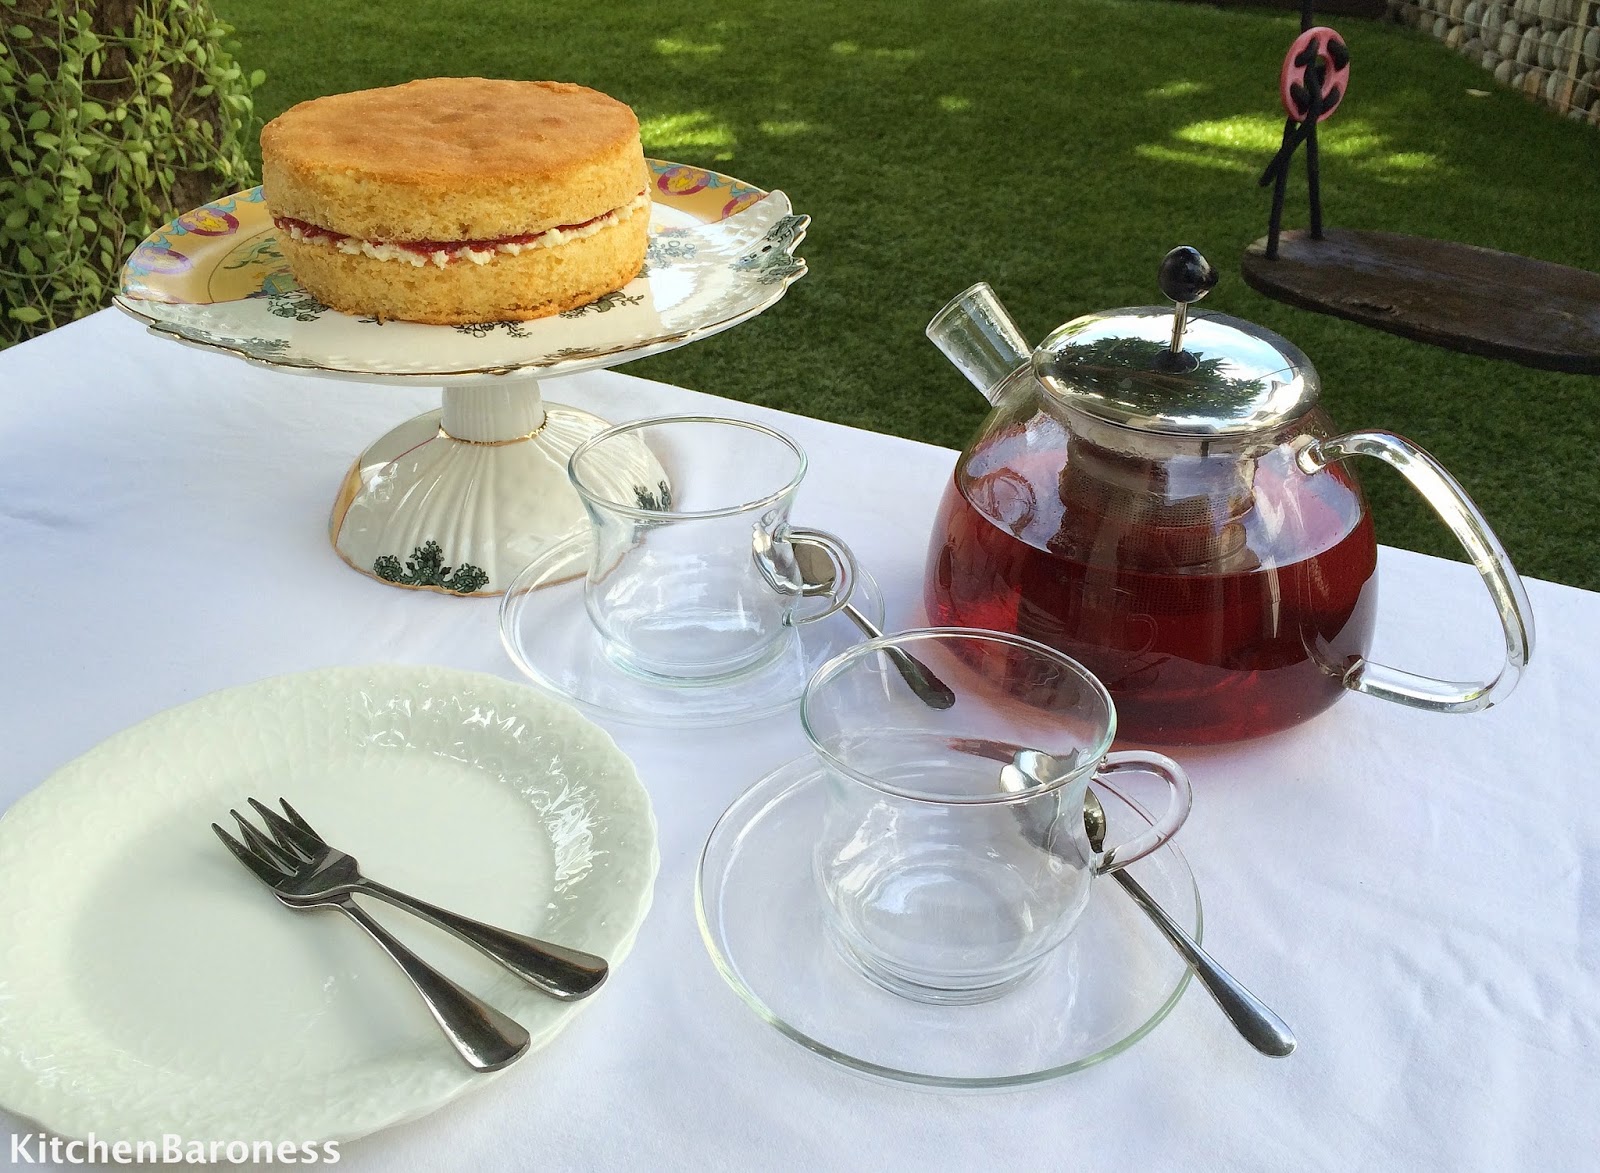
As part of my English Afternoon Tea spread, I always bake a 6" size Classic Victoria Sponge Cake.

This is a good cake especially with home made strawberry jam. It is at its best served on its own with just a pot of tea.


The cake was pretty much gone in a flash.
No, the dog did not have cake. The dog does not eat cake.
I am sure the dog wished it could eat cake.
VICTORIA SPONGE CAKE                                                   

Prep:
20 minutes
Cook:
30 to 35 minutes in oven
Inactive:
-
Level:
Intermediate
Makes:
8 slices
Oven Temperature:
340 F (170C)
Can recipe be doubled?
No
Make ahead?
Yes, wrapped in plastic wrap and refrigerated up to 2 days.


Ingredients

3 and 1/2 oz (100g) unsalted butter
Softened

3 and 1/2 oz (100g) caster sugar

3 and 1/2 oz (100g) weight of eggs without shells
Lightly beaten, (about 2 medium size eggs)

3/4 cup (3 and 1/2 oz) (100g) self raising flour OR to make self-raising flour:

If using measuring cup:

Fill the bottom of measuring cup with 1 and 1/8 teaspoons baking powder, 1/4 and 1/8 teaspoon salt, top up with enough all-purpose/plain flour to reach 3/4 cup.

If using kitchen scale:

Add 1 and 1/8 teaspoons baking powder, 1/4 and 1/8 teaspoon salt, then top up with flour to reach 3 and 1/2 oz (100g).

1/4 teaspoon salt
Omit if you are using salted butter

The Buttercream Filling

1 oz (30g) unsalted salted butter
Softened

2 and 1/2 oz (75g) icing sugar

You must sift the icing sugar or your buttercream might turn out lumpy.

The Strawberry Filling

Strawberry jam for spreading or use homemade strawberry jam (look under 'Tips' section at the bottom of this post for recipe)

Directions

Before starting, all your ingredients, flour, butter, sugar, eggs and salt (if using) must be at room temperature. 

Turn on the oven to 340F (170C), oven racked positioned lower middle. Prepare two 6" (15cm) round cake tins by lining the bottoms with a circle each of parchment paper and then grease the insides of cake tins with butter. Set aside.

With machine at medium speed, cream butter and sugar until light and creamy. Stop machine, scrape bottom and sides of mixer bowl to ensure even mixing. Mix another 1 minute. At this point, your batter should leave a ribbon trail when you lift your beaters/whisk up. All this should take you about 2 to 3 minutes.
With machine at low-medium speed, add half of eggs and beat 1 minute.  Lift beaters/whisk and use a spatula to scrape bottom of bowl to quickly and evenly incorporate batter.   Turn on machine back to low-medium speed, add remaining eggs and beat 1 minute. Stop machine, scrape and incorporate again.
Remove mixer bowl. If you are using unsalted butter, you need to add salt to the flour now. With a long metal spoon or spatula gently sift and fold in flour in 3 intervals. This usually takes me 1 minute. Flour has to be almost and not completely incorporated into batter before you add in the next batch of flour.

Incorporating flour the first time. Flour clearly visible on batter.
Incorporating flour the second time. A little less flour visible on batter.
Incorporating flour the third time. Almost no flour is visible on batter but there will be flour on the sides of the bowl.
Incorporate the flour on the sides of the bowl with a spatula. Just a few quick scrapes will do.
Distribute batter into the 2 cake tins. Level the batter out. They will look pathetically squat. It is fine. These are not chiffon cakes. Bake at 340F (170C) for 30 to 35 minutes.

To test if cake is done, insert a skewer. If it comes out clean, it is done.  Alternatively, very lightly press the centre of the cake, if it springs back without feeling like you just touched something semi liquid, it is done. The circumference of the cake would have separated ever so slightly from the sides of the cake tin.

Remove to a cooling rack and let it cool completely before removing from cake tins. Do not peel off parchment papers.

Making Buttercream

While waiting, place soften butter and sifted icing sugar into mixer bowl. Attached whisk attachment and whisk until you get a spreadable icing consistency. Transfer to a bowl and cover.

Assembling

Have the following items ready:

  • Plate or cake stand where your cake will be served
  • 2 palette or butter knives for spreading
  • Strawberry jam, room temperature
  • Buttercream icing
  • 7" square of parchment paper
Choose the cake that will be used for the top piece. Set that aside. 

Remove the parchment paper off the other cake, invert the cake (top of cake will face the cake plate) and set it on the cake plate.


Use the knife to spread inward out, an even layer of buttercream icing on this cake. You do not have to use up all the buttercream. I had about 1 to 2 Tablespoons left. 


Loosen up the strawberry jam with the knife. Gently dollop jam on top of icing and spread it inward out in an even layer. Set aside


Invert the other cake on to the 7" square of parchment paper.  Peel off parchment paper stuck to bottom of the cake. Spread a thin layer of jam on the side where you peeled off the parchment paper. With the help of the 7" square of parchment paper, lift this cake and sandwich it over the other cake.


You have yourself a Classic Victoria Sponge Cake.

Tips

This cake tastes best with home made strawberry jam which is easy to make. This is the way I make mine.
  • Recipe for about 1 cup of jam:
17 and 1/2 oz (500g) strawberries; 1/2 to 1 cup of sugar or jam sugar (it has added 'pectin' in it that helps set the jam and produces a slightly thicker consistency similar to store bought jam). 

Hull strawberries. Place strawberries and then sugar in a nonstick pot over medium high heat. After about 2 to 5 minutes, it will probably be a good time to stir. Boil away another 5 minutes. By this time the strawberries will look swollen. Take out your potato masher or use the back of a spoon to break up strawberries.

Let it boil another 10 to 15 minutes. Some foam would have formed. I just stir it back in when the jam is done.  It will look slightly thick but not quite jammy. I like my jam a loose consistency so when it looks like thick honey, I turn off the burner and take it off the heat. Cool completely and store in sterilised glass jars. It keeps at least 3 weeks but only manages to last 2 weeks and only a day if I serve it with my Sweet Milk Scones.

Jam makers will tell you that for jam to reach the 'set' stage, the thermometer needs to register 220F (105C). There are other 'set tests' you can carry out. Google it. Lots of detailed explanations which I will not get into. With the very little sugar to fruit ratio that I use, it might not reach the recommended temperatures. You can take out your thermometers and use it if you like but I know how I like my jam. Do not try and cut down the sugar to anything less than 1/2 cup as it does play a part in getting the jam to the right consistency.

Sweet and slightly tart. It tastes like fresh strawberry jam which it is. So much better than bottled jam. How much do I like this jam? I have almost given up on strawberry filled jelly doughnuts because there is never enough jelly in it for me. Now, I buy plain doughnuts and scoop a quarter cup of my strawberry jam next to a doughnut. It keeps me happy. Oh, I also scoop it over vanilla ice cream. So satisfying.

Update: I have since put up a separate post for this recipe, Homemade Strawberry Jam. It goes into a bit more detail, has more photographs to guide you and I have included other recipes where you can use the Homemade Strawberry Jam. Click here, Strawberry Jam Simplified.
WHAT'S COMING UP NEXT?                              
I am done with my series on English Afternoon Tea! 

Have friends and family over and serve them the entire spread of English Afternoon Tea pictured here! Better still, have somewhat make it for you!


English Afternoon Tea. 


Top plate: Classic Victoria Sponge Cake, Checkerboard Cookies,
Sweet Milk Scones.

Bottom plate first layer: Egg and CressRoast Beef with BeetrootCrisp Cucumbers.
Bottom plate second layer: Roast Beef with BeetrootSalmon
Recently posted:

Classic Victoria Sponge Cake


In my next post, I am moving on to a savoury snack that I serve pre dinner when I have guests over. I tend to make big batches of the batter and freeze them in smaller freezer bags. I remove a bag, thaw it, snip of a corner of the plastic freezer bag and pipe it over hot oil. 


These little gluten free bites keeps everyone happy while I get dinner prepared. Sometimes I make a coconut or mint chutney to go with it or horror of horrors, I open a bottle of Prego Marinara and use that as a dip.

Look out for my next post!